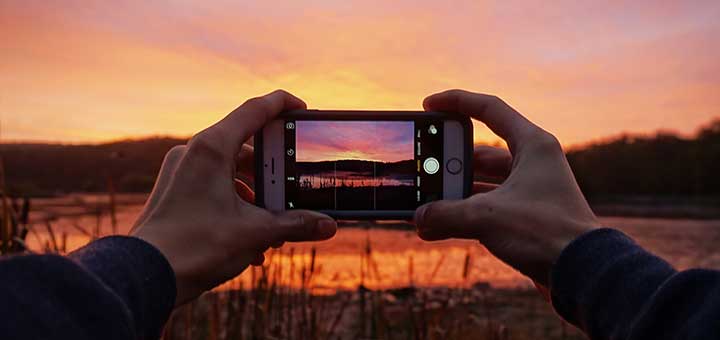
7 Hacks for Taking Better Travel Pictures with an iPhone

Your iPhone is capable of taking really amazing quality travel pictures, much better than most of the people expect. Make sure to follow these 7 simple yet effective tips and tricks for taking amazing travel pictures to brag with!
Keep still
People usually do not consider an iPhone as a tool for “real photography” and this is why they are not following the “requirements” of a real camera. However, this is not the case as iPhone photography should be handled the same way which means that keeping still while taking a picture is crucial for achieving the best focus and stability of the image. With that being said, make sure you are not walking, waving, or moving in any other significant way if you want a good iPhone picture. A poor composition, low-quality focus, and shaky pictures are usually a result of a movement and not the fact that your iPhone’s capabilities are limited compared to a camera.
So how to prevent the poor quality and ensure the best focus – keep still and make sure you hold the phone still. It sounds simple and pretty self-explanatory but it is still a thing many people do not consider. However, it is important to treat your iPhone as any other camera and follow the “rules” for taking a good photography. In addition, when taking a picture with your iPhone, make sure you are slightly pressing the screen and not stabbing it with your finger as the latter one will create a more dramatic movement and end up in a shaky picture.
The basics of a good composition
The composition is one of the most important basics of really great photography. If you are a photography newbie then the simplest and most basic rule to follow is one of the thirds. Ensuring a perfect composition with an iPhone is even easier as its camera settings allow switching a grid on. Once you do that, the screen will show a crossword-type grid that will help you compose the picture properly. The most important thing is putting the main object of interest, no matter if it is a human, building, animal, or something else, in the centre of the picture and you will end up with a naturally balanced image.
Fill in all of the frames
This basic is important so you can achieve a balanced picture and a good composition. Smartphone cameras are equipped with a digital zoom, however, using it means that you are lowering the quality of the photograph. Instead, try to be as close as possible to the object you would like to take a picture of and fill in the frame as much as you can. As a result, you get a higher-quality shot.
Tell a story
Taking pictures of beautiful and interesting objects is not a bad start, however, the good picture is the one telling a story. Your main aim as a photographer, no matter the photography tool you are using, is giving the photo a sense of the place, of scale, and of character. Often, the beauty of a picture is hiding not in the object itself but the inspiration behind it and how it affects people. Make sure to use different formats from the settings of your iPhone such as panorama or square as they will give a different perspective and a different sense of scale.
Adjust the settings
When you tap on the screen of your iPhone (when the camera is on), a little box will appear and this is the main focus of your photo as suggested by the tool. The focus is a very important part of a good picture because you would like to have the main object of interest in a sharp focus, no matter where it is located in the frame. Sliding your finger up and down on the screen will also help you adjust the exposure. Exposure and focus go hand in hand because often when you focus on a dark object, the rest of the picture may go extra light or even white.
Turn off the flash
One important thing to remember is that the flash of your iPhone lights about three feet in front of you so whenever you are taking a picture in a dark place you cannot expect it to look all bright and cool on the picture. At least the flash won’t help that much. When taking a picture in a darker place it is a better strategy if you turn the flash off and keep still so the final picture will better reflect the lighting conditions of where you are.
Experiment with apps
One of the biggest secrets of a good picture is not necessarily the “raw” image you are taking but the way you edit it with the help of the many and diverse apps available for your iPhone. Using an app to edit the picture does not necessarily mean that you will get a non-natural result as you can slightly play around with exposure, highlights and shadows, or crop something out. However, if you are in a more creative mood you can actually experiment and test some more interesting edit and montage options.


